The Ultimate Guide to Hanging a Dart Board Cabinet
Welcome to BestPoolTablesForSale.com, your go-to resource for all things related to furniture stores and sporting goods. In this comprehensive guide, we will walk you through the process of hanging a dart board cabinet, ensuring that your setup is not only secure but also enhances your overall dart playing experience.
Why Hanging a Dart Board Cabinet is Essential
A dart board cabinet offers numerous benefits for dart enthusiasts. Not only does it protect your dart board from dust, dirt, and accidental impacts, but it also adds a decorative touch to your game room or entertainment area. By properly hanging the dart board cabinet, you can ensure optimal gameplay while maintaining the safety and beauty of your wall.
Choosing the Right Location for Your Dart Board Cabinet
Before diving into the hanging process, it's important to select the perfect location for your dart board cabinet. Consider the following factors:
- Wall Stability: Ensure that the wall you choose can support the weight of both the dart board and the cabinet. It should be sturdy and free from any structural vulnerabilities.
- Lighting Conditions: Opt for a well-lit area to prevent shadows from affecting your gameplay. Good lighting allows for clear visibility of the dart board and better accuracy.
- Player Comfort: Position the dart board cabinet at a height that allows comfortable throwing and easy retrieval of darts. The standard height for the bullseye is 5 feet 8 inches, but you can adjust it according to your preference and playing style.
Gathering the Necessary Tools and Equipment
Before starting the hanging process, make sure you have the following tools and equipment ready:
- One Dart Board Cabinet: Choose a high-quality dart board cabinet that suits your style and preferences. There are various designs and materials available, including wood, aluminum, and composite.
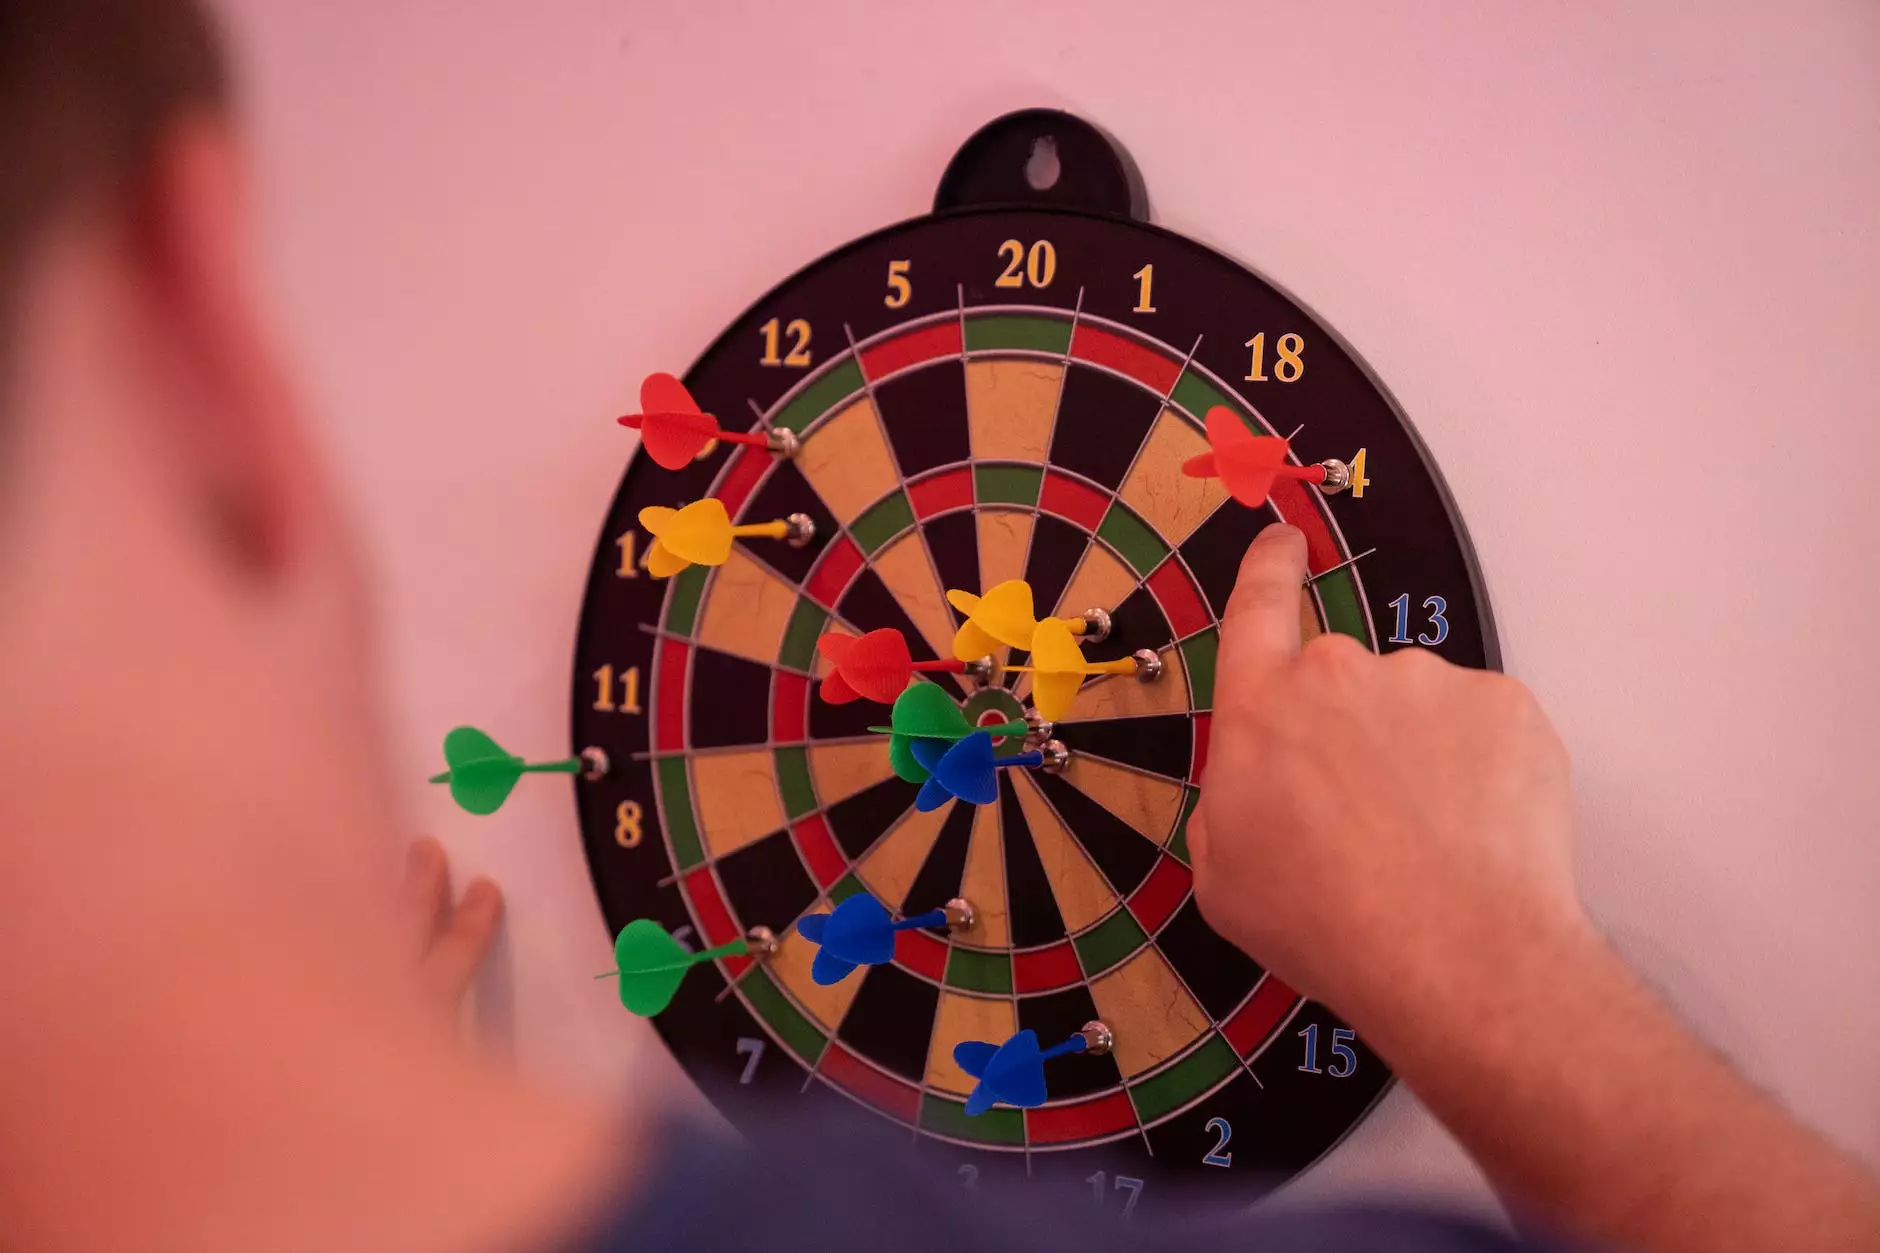
- One Dart Board: Select a regulation-size dart board that meets official standards. Look for one with a staple-free bullseye and quality wiring to enhance your dart-playing experience.
- Wall Anchors: Depending on your wall type, you may need wall anchors to ensure a secure and stable installation. Use the appropriate wall anchor for your specific wall material, such as drywall anchors, masonry anchors, or toggle bolts.
- Level: A level will help you ensure that your dart board cabinet is perfectly straight and aligned with the floor. This is essential for accurate gameplay.
- Tape Measure: Get precise measurements for positioning your dart board cabinet at the correct height and distance from the floor and surrounding walls.
- Drill: Use a drill to create pilot holes and mount the dart board cabinet securely to the wall. Ensure you have the appropriate drill bits to match the size of the screws provided with your dart board cabinet.
- Screws: Follow the manufacturer's instructions and use the screws provided with your dart board cabinet for proper installation. Using the wrong screws can result in an unstable and unsafe setup.
The Step-by-Step Process of Hanging a Dart Board Cabinet
Now that you have gathered all the necessary tools and equipment, it's time to start hanging your dart board cabinet. Follow these step-by-step instructions for a successful installation:
Step 1: Measure and Mark
Using a tape measure, find the desired height for your dart board cabinet and mark it on the wall. Ensure the height is comfortable for players and aligns with standard regulations. Use the level to draw a horizontal line to guide you during the installation process.
Step 2: Locate and Attach Wall Anchors
Identify the wall studs behind the chosen installation location using a stud finder. If the studs align perfectly with your desired height, you can skip this step. However, if they don't, use wall anchors to securely mount the dart board cabinet. Refer to the manufacturer's instructions for the appropriate placement and installation of the wall anchors.
Step 3: Mount the Dart Board Cabinet
Place the dart board cabinet against the wall, aligning it with the marked height and the horizontal line you drew earlier. Use a level to ensure it is straight. With the help of a drill and the appropriate drill bit, create pilot holes in the cabinet's mounting holes and gently remove the cabinet from the wall.
Once the pilot holes are ready, align the cabinet with the wall anchors or studs and insert the screws through the mounting holes. Tighten the screws using a screwdriver or a drill, being careful not to overtighten and damage the cabinet or wall. Double-check the levelness of the cabinet before fully tightening the screws.
Step 4: Install the Dart Board
Place your regulation-sized dart board inside the cabinet, ensuring it is centered and securely positioned. Follow the manufacturer's instructions for attaching the dart board to the cabinet's backing, usually using provided clips or brackets.
Step 5: Safety Check and Enjoy!
Give your newly installed dart board cabinet a final safety check. Examine the cabinet, mountings, and dart board for any signs of instability or loose components. Adjust as necessary to ensure a secure and safe setup.
Now that your dart board cabinet is expertly installed, it's time to invite your friends or family over for a friendly game of darts. Enjoy hours of entertainment, competition, and camaraderie with your new and professionally hung dart board cabinet!
Conclusion
Hanging a dart board cabinet doesn't have to be a daunting task. With proper planning, the right tools, and following our step-by-step guide, you can seamlessly install your dart board cabinet and elevate your dart playing experience. Remember to prioritize safety, proper positioning, and enjoy the thrill of hitting the bullseye in your own game room. For all your furniture store and sporting goods needs, visit BestPoolTablesForSale.com.